
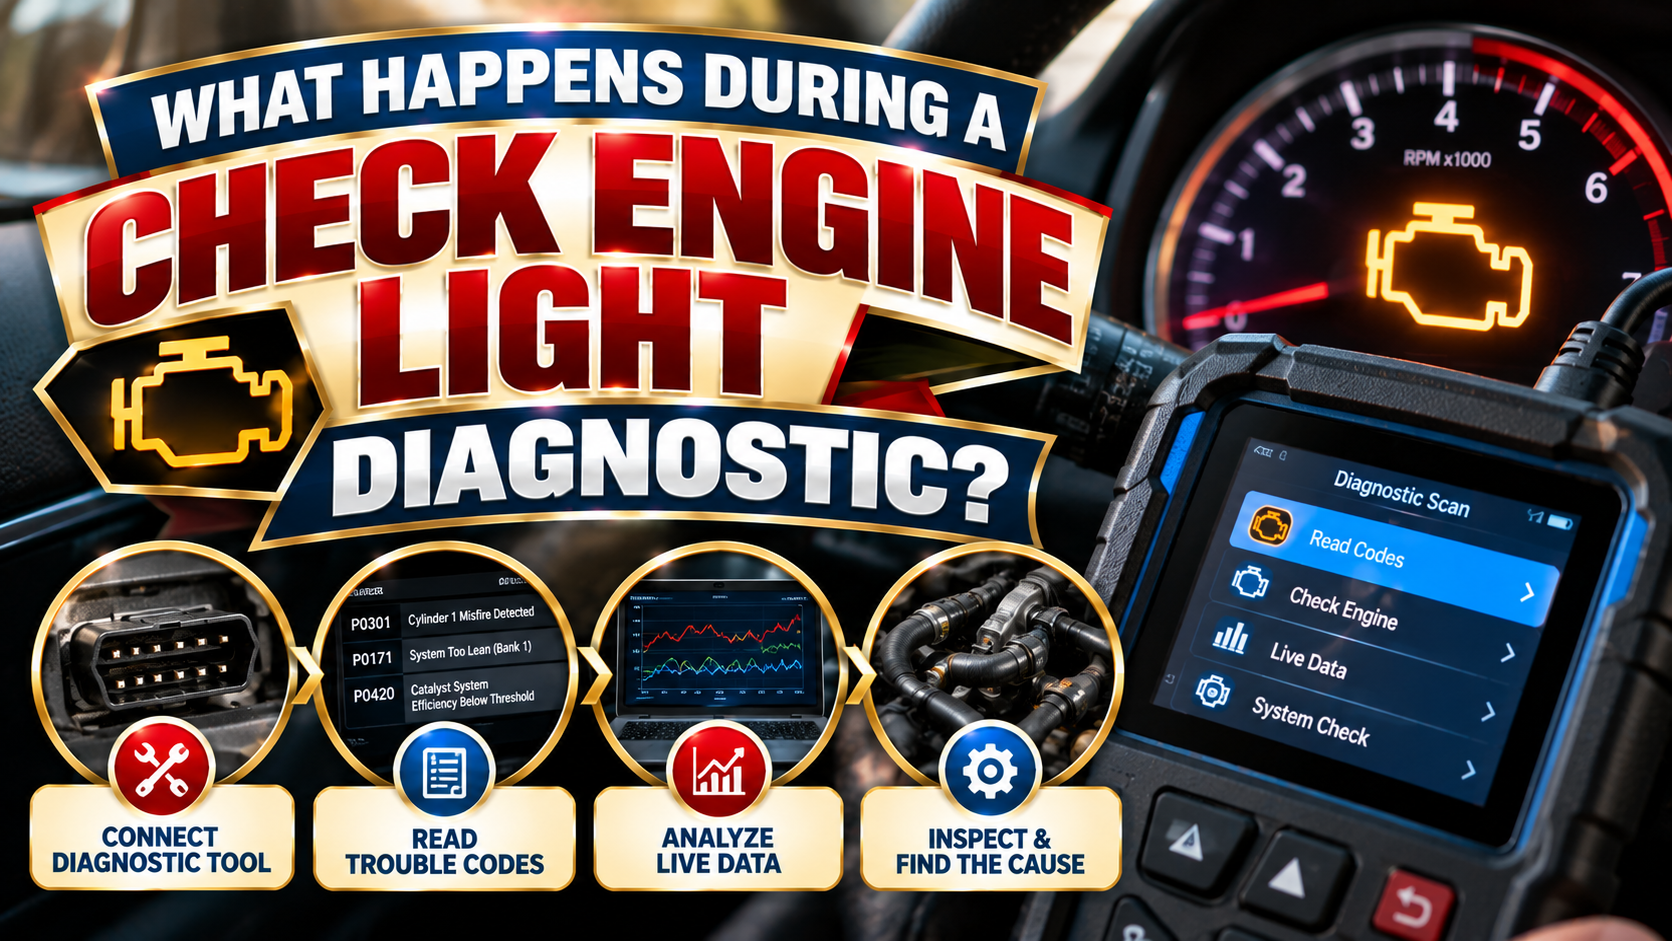
What Happens During a Check Engine Light Diagnostic?
Understanding Check Engine Light Testing, Common Causes, and Professional Auto Diagnostics in Watkinsville, GA
Few dashboard warnings cause as much uncertainty as the check engine light. One moment, your vehicle seems to be running normally. The next, a yellow or orange engine-shaped symbol appears on your dashboard.
Does it mean something serious is wrong? Is your vehicle safe to drive? Will the repair be expensive?
The truth is that a check engine light can indicate anything from a relatively minor emissions system problem to a serious engine malfunction. The warning light alone does not tell you exactly what needs to be repaired.
That’s where a professional check engine light diagnostic becomes important.
At Car Craft of Watkinsville, we understand how frustrating unexpected dashboard warnings can be. Our goal is to help drivers throughout Watkinsville, Oconee County, and surrounding Northeast Georgia communities understand their vehicles and make informed repair decisions.
In this guide, we’ll explain what happens during a check engine light diagnostic, how technicians identify problems, what diagnostic trouble codes mean, and why proper testing is important before replacing parts.
What Does the Check Engine Light Mean?
The check engine light, also called the malfunction indicator lamp (MIL), is part of your vehicle’s onboard diagnostic system.
Modern vehicles use sensors, computers, and electronic control systems to monitor engine operation, emissions-related components, and other important functions.
When the vehicle’s computer detects certain problems, it may store a diagnostic trouble code and illuminate the check engine light.
Common Reasons Your Check Engine Light May Come On
- Loose or damaged fuel cap
- Oxygen sensor problems
- Engine misfires
- Ignition coil or spark plug issues
- Fuel system problems
- Mass airflow sensor problems
- Catalytic converter efficiency concerns
- Evaporative emissions system leaks
- Engine temperature sensor problems
- Other engine management or emissions-related faults
Some problems may cause noticeable driving symptoms, while others may trigger the light even when the vehicle appears to operate normally.
Important: A check engine light identifies a detected problem or abnormal condition. It does not automatically identify the failed component.
Step 1: The Technician Discusses Your Vehicle’s Symptoms
A professional diagnostic process often begins with questions about your vehicle and the conditions surrounding the warning light.
The technician may ask:
- When did the check engine light first appear?
- Is the light steady or flashing?
- Does the engine run rough?
- Have you noticed reduced power?
- Does the vehicle hesitate during acceleration?
- Has fuel economy changed?
- Does the problem happen when the engine is cold or warm?
- Have any repairs been performed recently?
- Did the light appear after refueling?
These details can help narrow down potential causes.
For example, a check engine light accompanied by rough idling may suggest a different diagnostic direction than a light that appears without any noticeable symptoms.
Providing accurate information helps technicians investigate the problem more efficiently.
Step 2: A Diagnostic Scan Tool Is Connected to Your Vehicle
One of the first technical steps is connecting a diagnostic scan tool to your vehicle’s onboard diagnostic port.
Most modern passenger vehicles have an OBD-II diagnostic connector, typically located beneath the dashboard.
The scan tool communicates with the vehicle’s electronic control modules and retrieves available diagnostic information.
What Can a Diagnostic Scanner Reveal?
Depending on the vehicle and equipment, a scan tool may provide:
- Stored diagnostic trouble codes
- Pending trouble codes
- Permanent diagnostic trouble codes
- Freeze-frame data
- Live sensor readings
- Fuel trim information
- Engine temperature readings
- Misfire information
- Emissions monitor status
- Other manufacturer-specific diagnostic data
This information provides clues about the problem and helps guide further testing.
However, reading trouble codes is only the beginning of a complete diagnosis.
Step 3: The Technician Reviews Diagnostic Trouble Codes
When the vehicle’s computer detects certain faults, it may store a diagnostic trouble code, commonly called a DTC.
These codes help identify the system or operating condition that triggered the warning.
For example:
| Diagnostic Code | General Meaning |
|---|---|
| P0300 | Random or multiple cylinder misfire detected |
| P0171 | System too lean, Bank 1 |
| P0420 | Catalyst system efficiency below threshold, Bank 1 |
| P0455 | Evaporative emissions system large leak detected |
| P0128 | Coolant thermostat temperature below regulating temperature |
| P0101 | Mass airflow sensor circuit range/performance |
These are examples of common OBD-II codes. The exact interpretation and appropriate testing procedures depend on the vehicle.
Does a Trouble Code Tell You What Part to Replace?
Not necessarily.
For example, a P0420 code may indicate that the vehicle’s computer has detected catalytic converter efficiency below a specified threshold.
However, the cause may involve the converter itself, exhaust leaks, sensor problems, fuel mixture issues, or other conditions.
Replacing the catalytic converter without investigating the cause could result in an unnecessary repair.
A diagnostic trouble code points technicians toward a system or condition—not always a specific failed part.
Step 4: Freeze-Frame Data Is Examined
Many vehicles record a snapshot of operating conditions when certain diagnostic trouble codes are stored.
This information is called freeze-frame data.
Freeze-frame data may include:
- Engine speed
- Vehicle speed
- Engine coolant temperature
- Engine load
- Fuel trim readings
- Other operating conditions
Why Is Freeze-Frame Data Helpful?
Imagine your check engine light appears only during highway driving.
Freeze-frame data may help the technician understand the operating conditions when the problem was detected.
This information can be particularly useful when diagnosing intermittent problems that are difficult to reproduce.
Not every vehicle or code provides the same freeze-frame information, but available data can be an important part of the diagnostic process.
Step 5: The Technician Performs a Visual Inspection
Electronic diagnostic information is valuable, but many automotive problems still require a hands-on inspection.
A technician may inspect components related to the stored trouble codes and reported symptoms.
Areas That May Be Inspected
- Electrical connectors
- Wiring harnesses
- Vacuum hoses
- Air intake components
- Ignition system components
- Fuel system connections
- Exhaust components
- Fluid levels and visible leaks
- Related sensors and actuators
A loose connector, damaged wire, or disconnected hose can sometimes cause a warning light.
Visual inspections help identify obvious problems before more involved testing begins.
Step 6: Live Vehicle Data Is Analyzed
Professional diagnostic scanners can often display real-time information from sensors and electronic control modules.
This is commonly called live data.
Live data helps technicians evaluate how vehicle systems are operating.
Examples of Live Data
Fuel Trim Readings: Help evaluate how the engine computer adjusts fuel delivery.
Oxygen or Air-Fuel Sensor Readings: Provide information about exhaust oxygen content and fuel control operation.
Engine Coolant Temperature: Helps evaluate engine warm-up and temperature-related conditions.
Mass Airflow Readings: Provide information about measured air entering the engine.
Misfire Data: May help identify combustion problems affecting one or more cylinders.
Why Live Data Matters
A sensor may produce a reading without necessarily operating correctly.
Technicians compare readings with expected operating conditions and other available information to determine whether the data makes sense.
This helps distinguish a faulty sensor from a mechanical or electrical problem that causes the sensor to report an abnormal condition.
Step 7: Additional Diagnostic Tests May Be Performed
Depending on the trouble codes and symptoms, a technician may perform additional testing.
Not every vehicle requires every test.
Electrical Testing
A multimeter, oscilloscope, or other diagnostic equipment may be used to evaluate wiring, power supplies, grounds, and electrical signals.
Smoke Testing
A smoke machine may help locate certain intake or evaporative emissions system leaks.
Fuel System Testing
Fuel pressure, fuel delivery, or injector operation may be evaluated when fuel-related problems are suspected.
Ignition System Testing
Spark plugs, ignition coils, and related components may be inspected or tested when misfires occur.
Compression or Leak-Down Testing
Mechanical engine testing may be necessary when symptoms suggest internal engine problems.
Exhaust System Testing
Technicians may investigate exhaust leaks, catalytic converter performance, or related sensor readings.
Road Testing
A controlled road test may help reproduce certain symptoms and collect operating data.
These tests help determine the underlying cause rather than relying on assumptions.
Step 8: The Actual Cause of the Problem Is Identified
After reviewing trouble codes, inspecting components, and performing appropriate tests, the technician works to identify the source of the problem.
This is one of the most important parts of the diagnostic process.
For example, an engine misfire could result from:
- Worn spark plugs
- Faulty ignition coils
- Fuel injector problems
- Air leaks
- Low engine compression
- Other mechanical or electrical issues
Although these problems may produce similar symptoms, they require different repairs.
Accurate diagnosis helps reduce unnecessary parts replacement and supports more effective repairs.
Some intermittent faults may require additional testing or monitoring before a definitive cause can be established.
Step 9: The Technician Explains the Findings and Recommended Repairs
Once the diagnostic findings are available, the repair shop should explain what was discovered.
A clear explanation may include:
- Which trouble codes were present
- What symptoms or faults were confirmed
- Which tests were performed
- What repairs are recommended
- Whether the issue affects safe operation
- Estimated repair costs
- Whether additional testing is necessary
At Car Craft of Watkinsville, we believe in honest recommendations, upfront estimates, and clear communication.
Our goal is to help customers understand their vehicle’s condition before making repair decisions.
Step 10: Repairs Are Completed and the System Is Rechecked
After the appropriate repairs are authorized and completed, the technician may clear applicable trouble codes and verify the repair.
Verification may include:
- Rechecking live data
- Confirming symptoms are resolved
- Performing a road test
- Checking for returning trouble codes
- Evaluating system operation
- Reviewing diagnostic monitor status
Some emissions monitors require specific driving conditions before they complete their self-tests.
A check engine light that remains off immediately after repairs does not always prove every monitor has completed or that an intermittent fault cannot return.
Proper verification helps establish whether the identified problem has been addressed.
Is a Check Engine Light Diagnostic the Same as a Free Code Scan?
No. A basic code scan and a complete diagnostic evaluation are not necessarily the same service.
Some automotive parts stores and basic scan tools can retrieve diagnostic trouble codes.
This information can be helpful, but it does not always identify the cause of the problem.
| Basic Code Scan | Professional Diagnostic Evaluation |
|---|---|
| Retrieves available trouble codes | Retrieves and interprets diagnostic information |
| Identifies a system or fault condition | Investigates possible underlying causes |
| May provide a generic code description | Evaluates vehicle-specific operating data |
| Usually does not include component testing | May include electrical and mechanical testing |
| Does not confirm which repair is needed | Helps determine appropriate repair recommendations |
| Limited repair verification | May include post-repair testing |
A code scan provides a starting point. Professional diagnostics use that information alongside testing and technical knowledge to investigate the problem.
What Is the Difference Between a Steady and Flashing Check Engine Light?
Not all check engine light warnings indicate the same level of urgency.
Steady Check Engine Light
A steady check engine light generally indicates that the vehicle’s computer has detected a fault.
The vehicle may continue to operate normally, but the issue should be diagnosed promptly.
If the vehicle also exhibits severe symptoms, stop driving when safe.
Flashing Check Engine Light
A flashing check engine light commonly indicates a severe misfire that may damage the catalytic converter.
If your check engine light is flashing, reduce engine load, pull over safely, shut off the engine, and arrange professional assistance.
Continuing to drive with a severe misfire can cause additional damage.
Always follow your vehicle manufacturer’s warning instructions.
Can You Drive with the Check Engine Light On?
Whether it is safe to drive depends on the warning and the vehicle’s symptoms.
A steady check engine light without noticeable performance problems may not require an immediate roadside stop, but it should still be diagnosed promptly.
However, stop driving safely and seek assistance if you notice:
- Flashing check engine light
- Severe engine shaking
- Significant loss of power
- Overheating
- Low oil pressure warning
- Smoke
- Strong burning odors
- Unusual mechanical noises
Ignoring serious symptoms can increase the risk of mechanical damage and unsafe operation.
What Are the Most Common Causes of a Check Engine Light?
Several automotive problems frequently trigger check engine light warnings.
Loose or Damaged Fuel Cap
On vehicles with certain evaporative emissions system designs, a loose or damaged fuel cap may contribute to an emissions-related trouble code.
Faulty Oxygen Sensor
Oxygen sensors help the engine computer monitor exhaust conditions and manage fuel delivery.
Engine Misfires
Misfires occur when combustion does not happen correctly in one or more cylinders.
Worn Spark Plugs or Ignition Components
Ignition problems may cause rough running, hesitation, and misfire codes.
Evaporative Emissions System Leaks
Leaks in the EVAP system may trigger a warning even when the engine seems to operate normally.
Catalytic Converter Efficiency Problems
The vehicle may detect that catalyst performance is below an expected threshold.
Air Intake or Fuel Mixture Problems
Vacuum leaks, airflow measurement problems, and fuel delivery issues can affect engine operation.
Each of these conditions requires appropriate diagnosis before repairs are recommended.
How Much Does a Check Engine Light Diagnostic Cost?
Diagnostic costs vary depending on the vehicle, the symptoms, and the testing required.
Some problems can be identified relatively quickly.
Others require more extensive investigation, especially when faults are intermittent or involve complex electronic systems.
Factors That Affect Diagnostic Costs
- Vehicle make and model
- Complexity of the problem
- Number of trouble codes
- Required testing equipment
- Labor time
- Whether symptoms can be reproduced
- Need for manufacturer-specific procedures
A diagnostic fee generally covers the technician’s time, equipment, and expertise involved in identifying the problem.
Repairs and replacement parts may be quoted separately.
Ask your repair shop what the diagnostic service includes and whether additional testing could be required.
Why You Shouldn’t Ignore Your Check Engine Light
Some check engine light problems are relatively minor, but others can worsen if left unresolved.
Potential consequences include:
- Reduced fuel economy
- Poor engine performance
- Increased emissions
- Catalytic converter damage
- Continued engine misfires
- Unexpected breakdowns
- More extensive mechanical repairs
Early diagnosis can help identify problems before they become more serious.
Can You Reset the Check Engine Light Without Fixing the Problem?
A scan tool may be able to clear certain trouble codes and turn off the check engine light.
However, clearing the code does not repair the underlying problem.
If the fault remains, the warning light may return after the vehicle detects the issue again.
Clearing codes can also erase useful diagnostic information and reset emissions readiness monitors.
Professional Tip: Avoid clearing trouble codes before a diagnostic appointment unless instructed to do so by a qualified technician.
Preserving the stored information can help with troubleshooting.
Why Check Engine Light Diagnostics Matter for Watkinsville, GA Drivers
Drivers throughout Watkinsville, Oconee County, Bishop, Bogart, and surrounding Northeast Georgia communities depend on their vehicles for commuting, family responsibilities, and daily transportation.
Unexpected warning lights can be particularly concerning when you’re traveling long distances or dealing with busy schedules.
Hot Georgia Weather
High temperatures can expose existing cooling system, electrical, or engine performance problems.
Daily Commuting
Frequent starts, stops, and varying driving conditions may make certain problems more noticeable.
High-Mileage Vehicles
Older vehicles may experience wear involving sensors, ignition components, fuel systems, and other engine-related parts.
Long-Distance Driving
Addressing check engine light warnings before a road trip can help reduce the risk of unexpected breakdowns.
Professional diagnostics can help determine whether your vehicle needs immediate repair or another appropriate course of action.
Professional Check Engine Light Diagnostics in Watkinsville, GA
Modern vehicles contain sophisticated electronic systems that require more than simply reading a trouble code.
At Car Craft of Watkinsville, our experienced automotive technicians help drivers identify engine performance and diagnostic concerns.
Depending on the vehicle and symptoms, diagnostic service may involve reviewing trouble codes, evaluating sensor data, inspecting related components, and performing appropriate tests.
The objective is to determine the cause of the warning and recommend repairs based on actual findings.
Trust Car Craft of Watkinsville for Honest Auto Diagnostics
At Car Craft of Watkinsville, we understand that an unexpected check engine light can be stressful.
Our family-owned automotive repair shop is committed to helping drivers throughout Watkinsville, Oconee County, and surrounding Northeast Georgia communities maintain safe, dependable vehicles.
Our experienced, ASE-certified technicians provide automotive diagnostic, maintenance, and repair services, including:
- Check Engine Light Diagnostics
- Engine Repair
- Cooling System Repair
- Battery Testing & Replacement
- Oil Change Services
- Starter Repair & Replacement
- Vehicle Safety Inspections
- Other Automotive Diagnostic Services
We believe in honest recommendations, upfront estimates, clear communication, and quality workmanship.
Our goal is to explain what’s happening with your vehicle and help you make informed decisions about necessary repairs.
Is Your Check Engine Light On?
Don’t ignore an illuminated check engine light or assume a trouble code automatically identifies the problem.
Professional diagnostic testing can help determine the cause and identify the appropriate repair.
Contact Car Craft of Watkinsville today to schedule check engine light diagnostics in Watkinsville, GA.
Let our experienced automotive team help you understand your vehicle’s warning signs and get back on the road with confidence.